
Flat, lifeless images usually result from poor lighting direction rather than camera quality. Beginners often focus on camera settings while ignoring the quality and direction of light. A simple three-step diagnostic test reveals the best angle for any subject.
Executing the Test
Identify the primary light source, such as a window or lamp. Do not move the subject. Instead, move the camera to three distinct positions relative to the light:
- Front Light (0 Degrees): The light is directly behind the camera.
- Side Light (90 Degrees): The light hits the subject from the side.
- Back Light (180 Degrees): The light is behind the subject, facing the camera.
Analyzing Position 1: Front Light
Shooting with the light source behind the photographer illuminates the subject evenly. This removes shadows, smoothing skin textures but flattening the facial features. Use this angle for documentation or clear identification, but be aware it often lacks drama.
Analyzing Position 2: Side Light
Move 90 degrees so the light rakes across the subject. This creates a transition from highlight to shadow. Texture becomes visible. For portraits, this adds character and depth to the face. For products, it reveals the material’s quality. This is often the most cinematic choice.
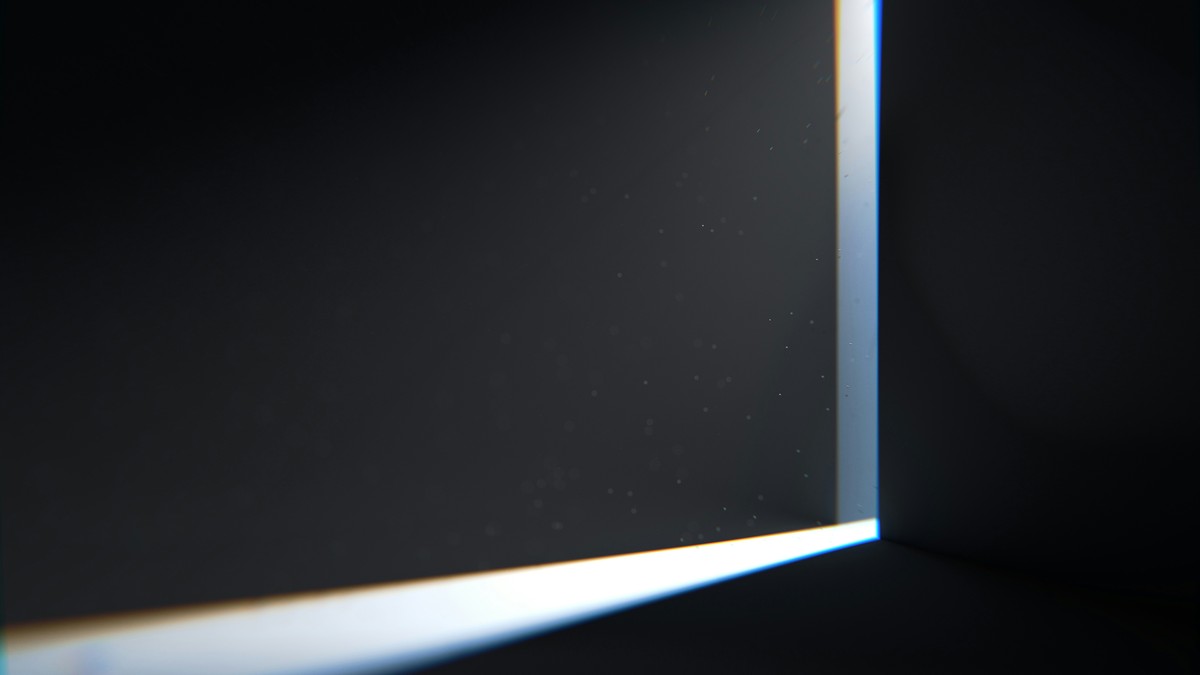
Analyzing Position 3: Back Light
Position the camera facing the light source with the subject in between. This creates a silhouette or a “rim light” effect, where the edges of the subject glow. It separates the subject from the background but leaves the front in shadow. Exposure compensation is usually necessary here to prevent the subject from becoming too dark.
Selecting the Winner
Review the three images on the screen. Choose the angle that best serves the story. Side light usually wins for mood and depth, while front light wins for clarity. Making this physical move around the subject is the fastest way to improve composition skills.