
Traditional photographers trained on horizontal compositions often struggle with the vertical 9:16 aspect ratio required by modern social platforms. The lack of peripheral context forces a shift in framing and composition strategy. Adapting to vertical framing requires rethinking how the eye moves through the image.
Compositional Differences
The vertical frame is tall and narrow. Horizontal “rule of thirds” points shift. Effective vertical video relies on different visual anchors:
- Stacking: Arrange elements from top to bottom rather than left to right.
- Foreground Dominance: Get close to the subject to fill the frame.
- Leading Lines: Use vertical lines (trees, buildings, roads) to draw the eye up or down.
- Headroom: Leave space at the top and bottom for platform interface overlays.
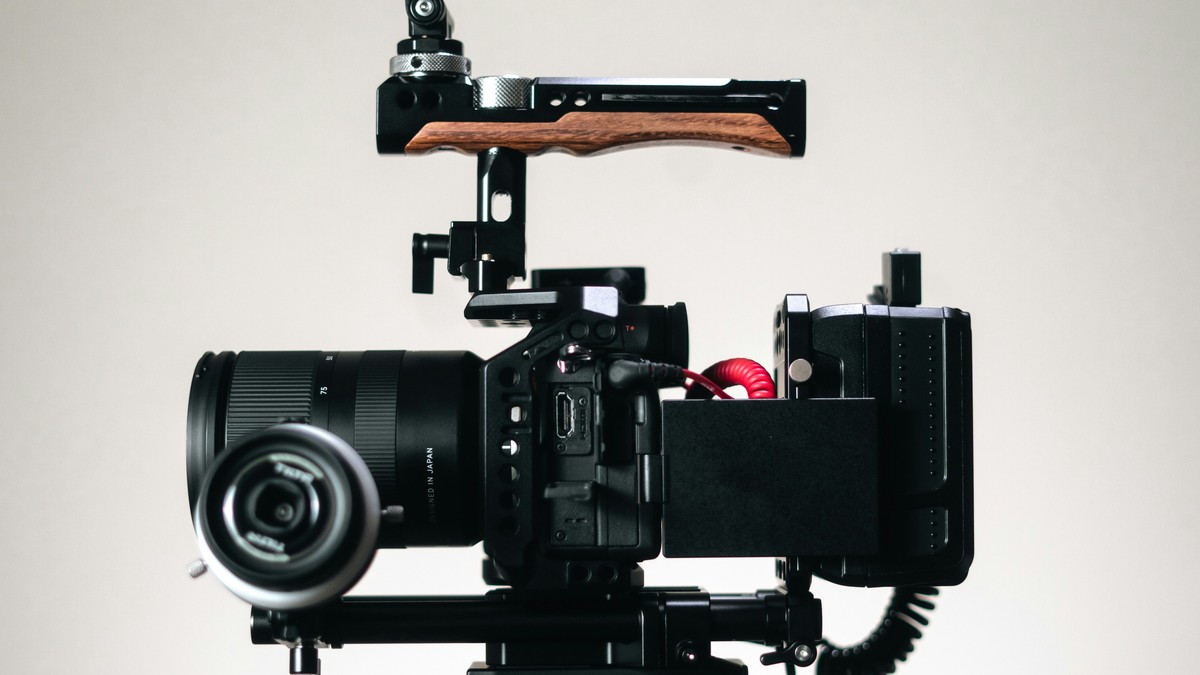
Equipment Handling
Holding a DSLR or mirrorless camera vertically is ergonomically difficult for video. An L-bracket is essential for tripod work, allowing the camera to mount vertically without flopping to the side. For handheld work, a rotating battery grip or a cage with a side handle provides the necessary stability.
Focus and Depth
In a vertical frame, the background is less prominent laterally but extends vertically. Shallow depth of field (low aperture number) is crucial to separate the subject from a distracting top-to-bottom background. Ensure the autofocus point is locked on the upper third of the frame where faces typically appear.
Resolution and Delivery
Shoot in 4K resolution even if the final output is 1080p. This allows for cropping and reframing in post-production without quality loss. If shooting horizontally with the intention to crop later, mark the 9:16 center area on the camera monitor using tape or grid overlays to ensure the action stays within the safe zone.